
Installing Sproutcore on Windows (with Screenshots)

Most Sproutcore developers working on Windows are used to the installer, which is also the default choice on the download page.

Since lately the installer seems to be a little unreliable I decided to try the manual way and screenshot the whole process so that it might be of help to others.

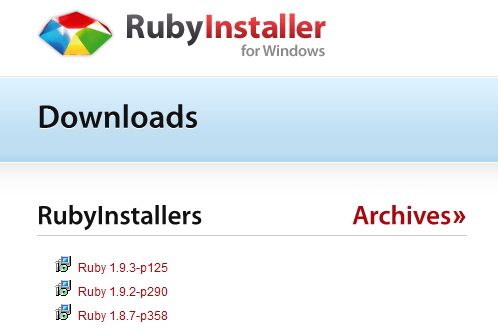
The first thing to do is install Ruby for Windows, which can be conveniently fetched from http://rubyinstaller.org/. I recommend you pick version 1.9.2 which, at the moment, I believe is the version used by most of the Sproutcore developers.

Installing is a breeze, just remember to tick the 'Add Ruby to your path' box so that you don't have to do it yourself later. If you have other ruby versions installed and you DO care about which version is selected by default than it's up to you whether or not to tick the box.

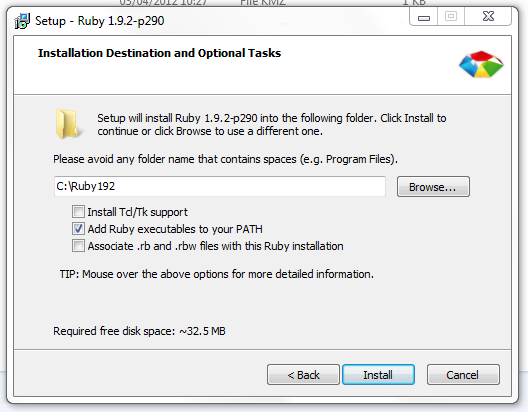
If unsure just tick the box.

When the installer is done open a command prompt (just type cmd in the run box on the Start menu and select the black icon on top of the list). In the command prompt type:

gem install sproutcore

and wait for the whole process to end. The full output is shown in the image on the right. Sproutcore is now installed and you can head to the guides to start using it right away!

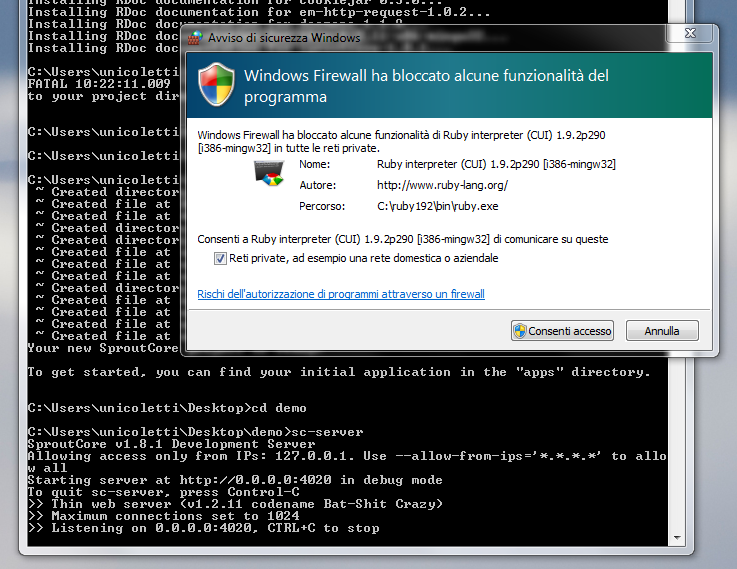
The first time you start sc-server Windows Firewall might ask you to allow the ruby process to open a network port on your computer, just say yes or you won't be able to use the live preview of your apps.

If you're worried about security remember that Sproutcore 1.8 and higher only allows connections from localhost by default, so it's pretty tight.

Comments

Popular posts from this blog

Mirth: recover space when mirthdb grows out of control

I was recently asked to recover a mirth instance whose embedded database had grown to fill all available space so this is just a note-to-self kind of post. Btw: the recovery, depending on db size and disk speed, is going to take long. The problem A 1.8 Mirth Connect instance was started, then forgotten (well neglected, actually). The user also forgot to setup pruning so the messages filled the embedded Derby database until it grew to fill all the available space on the disk. The SO is linux. The solution First of all: free some disk space so that the database can be started in embedded mode from the cli. You can also copy the whole mirth install to another server if you cannot free space. Depending on db size you will need a corresponding amount of space: in my case a 5GB db required around 2GB to start, process logs and then store the temp files during shrinking. Then open a shell as the user that mirth runs as (you're not running it as root, are you?) and cd in

From 0 to ZFS replication in 5m with syncoid

The ZFS filesystem has many features that once you try them you can never go back. One of the lesser known is probably the support for replicating a zfs filesystem by sending the changes over the network with zfs send/receive. Technically the filesystem changes don't even need to be sent over a network: you could as well dump them on a removable disk, then receive  from the same removable disk.

How to automatically import a ZFS pool built on top of iSCSI devices with systemd

When using ZFS on top of iSCSI devices one needs to deal with the fact that iSCSI devices usually appear late in the boot process. ZFS on the other hand is loaded early and the iSCSI devices are not present at the time ZFS scans available devices for pools to import. This means that not all ZFS pools might be imported after the system has completed boot, even if the underlying devices are present and functional. A quick and dirty solution would be to run  zpool import <poolname> after boot, either manually or from cron. A better, more elegant solution is instead to hook into systemd events and trigger zpool import as soon as the devices are created.